Nextcloud auf Debian 10 mit nginx installieren
von Thomas
Erstellt am 18.08.2020

Nextcloud ist eine Open-Source-Software zum Speichern von Daten auf einem eigenem Server. Das Projekt wird auf Github öffentlich verwaltet und entwickelt. Dabei hat sich Nextcloud in den letzten Jahren zu einer multifunktionalen Software entwickelt. Bei Bedarf kann ein Videokonferenzplugin namens Talk genutzt werden oder OnlyOffice als alternative zu Microsoft 365.
Interesse an einem managed Nextcloud Hosting mit Serverstandort Deutschland?
Oder kontaktiere mich über die Möglichkeiten auf meiner Kontaktseite.
Systemvoraussetzungen
In diesem Tutorial setzte ich eine erfolgreiche Installation von Debian 10 (Buster) voraus. Zusätzlich wird folgende Soft- und Hardware benötigt:
Hardware
- Ram: 512MB oder mehr
Software
- Datenbank: MariaDB
- Webserver: nginx
- PHP: Version 7.3 oder höher (in dem Beispiel 7.3)
Diverses
- root Zugang
- öffentliche IP-Adresse
Die Requierements können auf der offiziellen Nextcloud Seite gegengeprüpft werden. Es stehen mit z. B. Apache auch Alternativen zur Verfügung.
Installation aller Pakete für Debian 10
Debian kommt standardmäßig nicht mit einer Datenbank, Webserver oder PHP. Daher müssen wir die Pakete installieren. Das geschieht mit folgendem Befehl in einem Rutsch:
apt-get install nginx certbot php-fpm mariadb-server php-xml php-cli php-cgi php-mysql php-mbstring php-gd php-curl php-zip php7.3-intl php7.3-bcmath php7.3-gmp php-imagick imagemagick php-apcu wget unzip
Einrichtung MariaDB
Es muss eine Datenbank mit User und Passwort für die Nextcloud erstellt werden.
mysql -u root -p

MariaDB [(none)]> create database nextcloud;
Query OK, 1 row affected (0.00 sec)

MariaDB [(none)]> create user nextcloudadmin@localhost identified by 'bitteaendern';
Query OK, 0 rows affected (0.00 sec)

MariaDB [(none)]> grant all privileges on nextcloud.* to nextcloudadmin@localhost identified by 'bitteaendern';
Query OK, 0 rows affected (0.00 sec)

MariaDB [(none)]> flush privileges;
Query OK, 0 rows affected (0.00 sec)

MariaDB [(none)]> exit;
Einrichtung von nginx
Es wird davon ausgegangen, dass die Nextcloud Installation unter dem Pfad /var/www/nextcloud liegt und die Domain cloud.example.de verwendet wird. Diese Platzhalter müssen in dem Konfigurationsfile vom nginx an allen Stellen angepasst werden. Wir wechseln in das Verzeichnis, in dem die Konfigurationsfiles für virtuelle Hosts angelegt werden und erzeugen eine Neue für die Nextcloud. Anschließend linken wir die Datei in das Verzeichnis der aktiven Hosts.
cd /etc/nginx/sites-available
touch cloud.example.de
cd ../sites-enabled
ln -s ../sites-available/cloud.example.de cloud.example.de
Wir füllen die Datei mit dem empfohlenen Einstellungen des Nextcloud-Manuals. Kommentieren aber zunächst die SSL-Konfiguration aus, sodass wir Zertifikate mit Hilfe des Certbots erzeugen können.
nano /etc/nginx/sites-available/cloud.example.de
upstream php-handler {
    #server 127.0.0.1:9000;
    server unix:/var/run/php/php7.3-fpm.sock;
}

server {
    listen 80;
    listen [::]:80;
    server_name cloud.example.de;

    # let Let's Encrypt access via HTTP so get SSL certs
    location ^~ /.well-known/acme-challenge/ {
            root /var/www/nextcloud/;
    }

    # enforce https
    location / {
        return 301 https://$server_name$request_uri;
    }
}

server {
    listen 443 ssl http2;
    listen [::]:443 ssl http2;
    server_name cloud.example.de;

    # Use Mozilla's guidelines for SSL/TLS settings
    # https://mozilla.github.io/server-side-tls/ssl-config-generator/
    # NOTE: some settings below might be redundant
    # ssl_certificate /etc/letsencrypt/live/cloud.example.de/fullchain.pem;
    # ssl_certificate_key /etc/letsencrypt/live/cloud.example.de/privkey.pem;

    # Add headers to serve security related headers
    # Before enabling Strict-Transport-Security headers please read into this
    # topic first.
    add_header Strict-Transport-Security "max-age=15768000; includeSubDomains; preload;" always;
    #
    # WARNING: Only add the preload option once you read about
    # the consequences in https://hstspreload.org/. This option
    # will add the domain to a hardcoded list that is shipped
    # in all major browsers and getting removed from this list
    # could take several months.
    add_header Referrer-Policy "no-referrer" always;
    add_header X-Content-Type-Options "nosniff" always;
    add_header X-Download-Options "noopen" always;
    add_header X-Frame-Options "SAMEORIGIN" always;
    add_header X-Permitted-Cross-Domain-Policies "none" always;
    add_header X-Robots-Tag "none" always;
    add_header X-XSS-Protection "1; mode=block" always;

    # Remove X-Powered-By, which is an information leak
    fastcgi_hide_header X-Powered-By;

    # Path to the root of your installation
    root /var/www/nextcloud;

    location = /robots.txt {
        allow all;
        log_not_found off;
        access_log off;
    }

    # The following 2 rules are only needed for the user_webfinger app.
    # Uncomment it if you're planning to use this app.
    #rewrite ^/.well-known/host-meta /public.php?service=host-meta last;
    #rewrite ^/.well-known/host-meta.json /public.php?service=host-meta-json last;

    # The following rule is only needed for the Social app.
    # Uncomment it if you're planning to use this app.
    #rewrite ^/.well-known/webfinger /public.php?service=webfinger last;

    location = /.well-known/carddav {
      return 301 $scheme://$host:$server_port/remote.php/dav;
    }
    location = /.well-known/caldav {
      return 301 $scheme://$host:$server_port/remote.php/dav;
    }

    # set max upload size
    client_max_body_size 512M;
    fastcgi_buffers 64 4K;

    # Enable gzip but do not remove ETag headers
    gzip on;
    gzip_vary on;
    gzip_comp_level 4;
    gzip_min_length 256;
    gzip_proxied expired no-cache no-store private no_last_modified no_etag auth;
    gzip_types application/atom+xml application/javascript application/json application/ld+json application/manifest+json application/rss+xml application/vnd.geo+json application/vnd.ms-fontobject application/x-font-ttf application/x-web-app-manifest+json application/xhtml+xml application/xml font/opentype image/bmp image/svg+xml image/x-icon text/cache-manifest text/css text/plain text/vcard text/vnd.rim.location.xloc text/vtt text/x-component text/x-cross-domain-policy;

    # Uncomment if your server is build with the ngx_pagespeed module
    # This module is currently not supported.
    #pagespeed off;

    location / {
        rewrite ^ /index.php;
    }

    location ~ ^\/(?:build|tests|config|lib|3rdparty|templates|data)\/ {
        deny all;
    }
    location ~ ^\/(?:\.|autotest|occ|issue|indie|db_|console) {
        deny all;
    }

    location ~ ^\/(?:index|remote|public|cron|core\/ajax\/update|status|ocs\/v[12]|updater\/.+|oc[ms]-provider\/.+|.+\/richdocumentscode\/proxy)\.php(?:$|\/) {
        fastcgi_split_path_info ^(.+?\.php)(\/.*|)$;
        set $path_info $fastcgi_path_info;
        try_files $fastcgi_script_name =404;
        include fastcgi_params;
        fastcgi_param SCRIPT_FILENAME $document_root$fastcgi_script_name;
        fastcgi_param PATH_INFO $path_info;
        fastcgi_param HTTPS on;
        # Avoid sending the security headers twice
        fastcgi_param modHeadersAvailable true;
        # Enable pretty urls
        fastcgi_param front_controller_active true;
        fastcgi_pass php-handler;
        fastcgi_intercept_errors on;
        fastcgi_request_buffering off;
    }

    location ~ ^\/(?:updater|oc[ms]-provider)(?:$|\/) {
        try_files $uri/ =404;
        index index.php;
    }

    # Adding the cache control header for js, css and map files
    # Make sure it is BELOW the PHP block
    location ~ \.(?:css|js|woff2?|svg|gif|map)$ {
        try_files $uri /index.php$request_uri;
        add_header Cache-Control "public, max-age=15778463";
        # Add headers to serve security related headers (It is intended to
        # have those duplicated to the ones above)
        # Before enabling Strict-Transport-Security headers please read into
        # this topic first.
        #add_header Strict-Transport-Security "max-age=15768000; includeSubDomains; preload;" always;
        #
        # WARNING: Only add the preload option once you read about
        # the consequences in https://hstspreload.org/. This option
        # will add the domain to a hardcoded list that is shipped
        # in all major browsers and getting removed from this list
        # could take several months.
        add_header Referrer-Policy "no-referrer" always;
        add_header X-Content-Type-Options "nosniff" always;
        add_header X-Download-Options "noopen" always;
        add_header X-Frame-Options "SAMEORIGIN" always;
        add_header X-Permitted-Cross-Domain-Policies "none" always;
        add_header X-Robots-Tag "none" always;
        add_header X-XSS-Protection "1; mode=block" always;

        # Optional: Don't log access to assets
        access_log off;
    }

    location ~ \.(?:png|html|ttf|ico|jpg|jpeg|bcmap|mp4|webm)$ {
        try_files $uri /index.php$request_uri;
        # Optional: Don't log access to other assets
        access_log off;
    }
}
Optimierung PHP Einstellungen
Damit große Dateien in die Nextcloud geladen werden können, müssen diverse Einstellungen an der php.ini getätigt werden. Setzte in der Datei /etc/php/7.3/fpm/php.ini folgende Parameter:
nano /etc/php/7.3/fpm/php.ini
memory_limit = 512M
upload_max_filesize = 5G
post_max_size = 20G
Optional: Die Parameter können beliebig angepasst werden. Bei einem Server mit mehr RAM lohnt es sich das memory_limit zu erhöhen. upload_max_filesize ist dafür verantwortlich, wie groß eine einzelne Datei maximal sein darf. post_max_size hingegen legt fest, wie groß maximal das Limit des gesamten Bodys einer HTTP-Post-Anfrage ist. Der Body könnte auch mehrere Dateien enthalten.
Zusätzlich müssen folgende vier Zeilen in der Datei /etc/php/7.3/fpm/pool.d/www.conf auskommentiert werden, um die PATH Variable von PHP richtig zu setzten.
nano /etc/php/7.3/fpm/pool.d/www.conf
env[HOSTNAME] = $HOSTNAME
env[PATH] = /usr/local/bin:/usr/bin:/bin
env[TMP] = /tmp
env[TMPDIR] = /tmp
env[TEMP] = /tmp
Neustart der Dienste
Damit die Änderungen wirksam werden, müssen der Webserver und PHP neugestartet werden.
systemctl restart nginx
systemctl restart php7.3-fpm
Installation Nextcloud
Wir laden das Zip Archiv direkt bei Nextcloud herunter und entpacken es. Anschließend werden die Userberechtigungen für den Webserver angepasst.
cd /var/www/
wget https://download.nextcloud.com/server/releases/nextcloud-19.0.1.zip
unzip nextcloud-19.0.1.zip
rm nextcloud-19.0.1.zip
chown -R www-data:www-data /var/www/nextcloud
BEACHTET!!! Der Link muss auf die aktuelle Version angepasst werden, er ist direkt bei Nextcloud auf der Webseite zu finden.
Des Weiteren haben wir einen lokalen Cache für die Nextcloud installiert - APCu. Der muss in der Nextcloud-Config angegeben werden.
nano /var/www/nextcloud/config/config.php
Hier folgenden Eintrag hinzufügen 'memcache.local' => '\OC\Memcache\APCu',:
$CONFIG = array (
  'memcache.local' => '\OC\Memcache\APCu',
  'instanceid' => 'xxxxxxxxxxxx',
  'passwordsalt' => '++xxxxxxxxxxxx',
  'secret' => 'xxxxxxxxxxxx+gKGZ6',
  ....
SSL-Zertifikat mit Let's Encrypt
Damit die Daten verschlüsselt durch das Internet geroutet werden, wird ein SSL-Zertifikat benötigt. Die entsprechende Einstellung, dass die Nextcloud via HTTPS erreichbar ist, wurde bereits in der nginx-Konfiguration getätigt, ist aber noch auskommentiert. Zunächst muss das Zertifikat mit einem Befehl erstellt werden. Anschließend müssen die angegebenen Zeilen auskommentiert werden.
certbot certonly --webroot -w /var/www/nextcloud -d cloud.example.de
Folgende Zeilen in der Datei /etc/nginx/sites-available/cloud.example.de auskommentieren:
ssl_certificate /etc/ssl/nginx/cloud.example.de.crt;
ssl_certificate_key /etc/ssl/nginx/cloud.example.de.key;
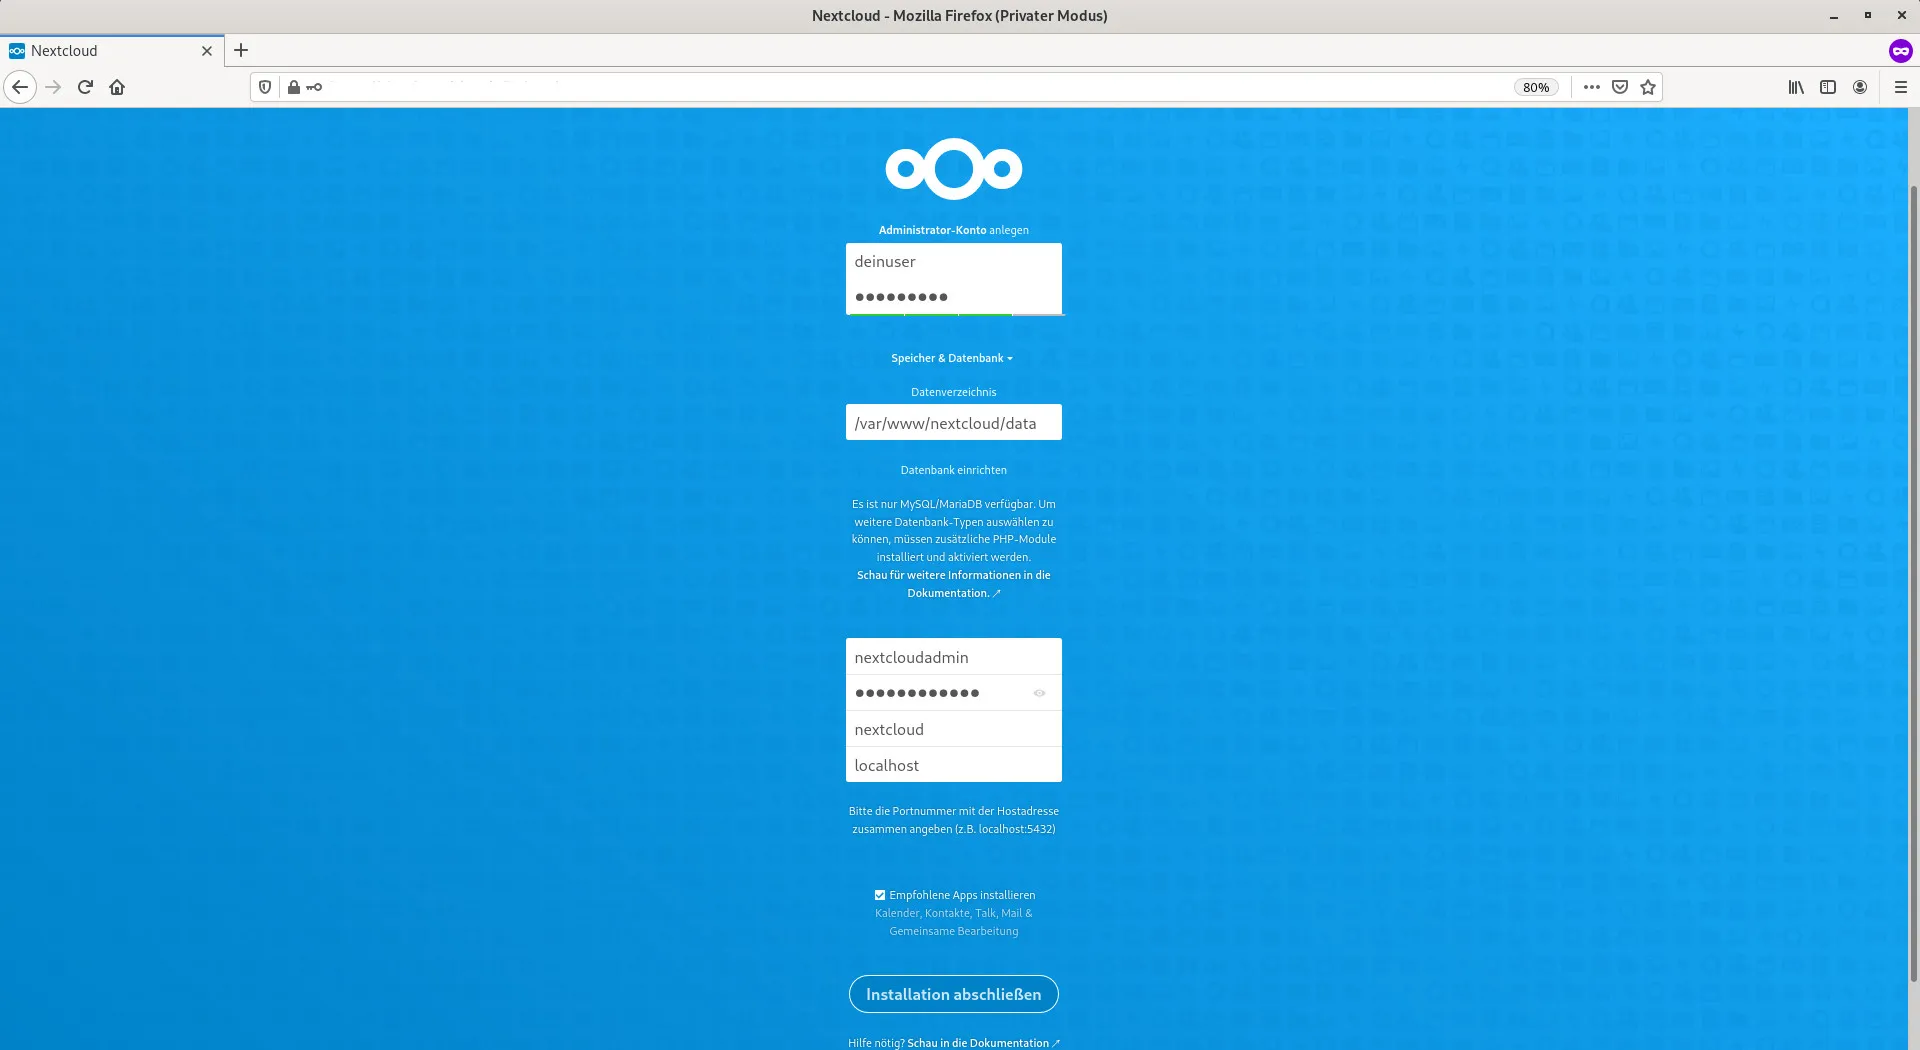
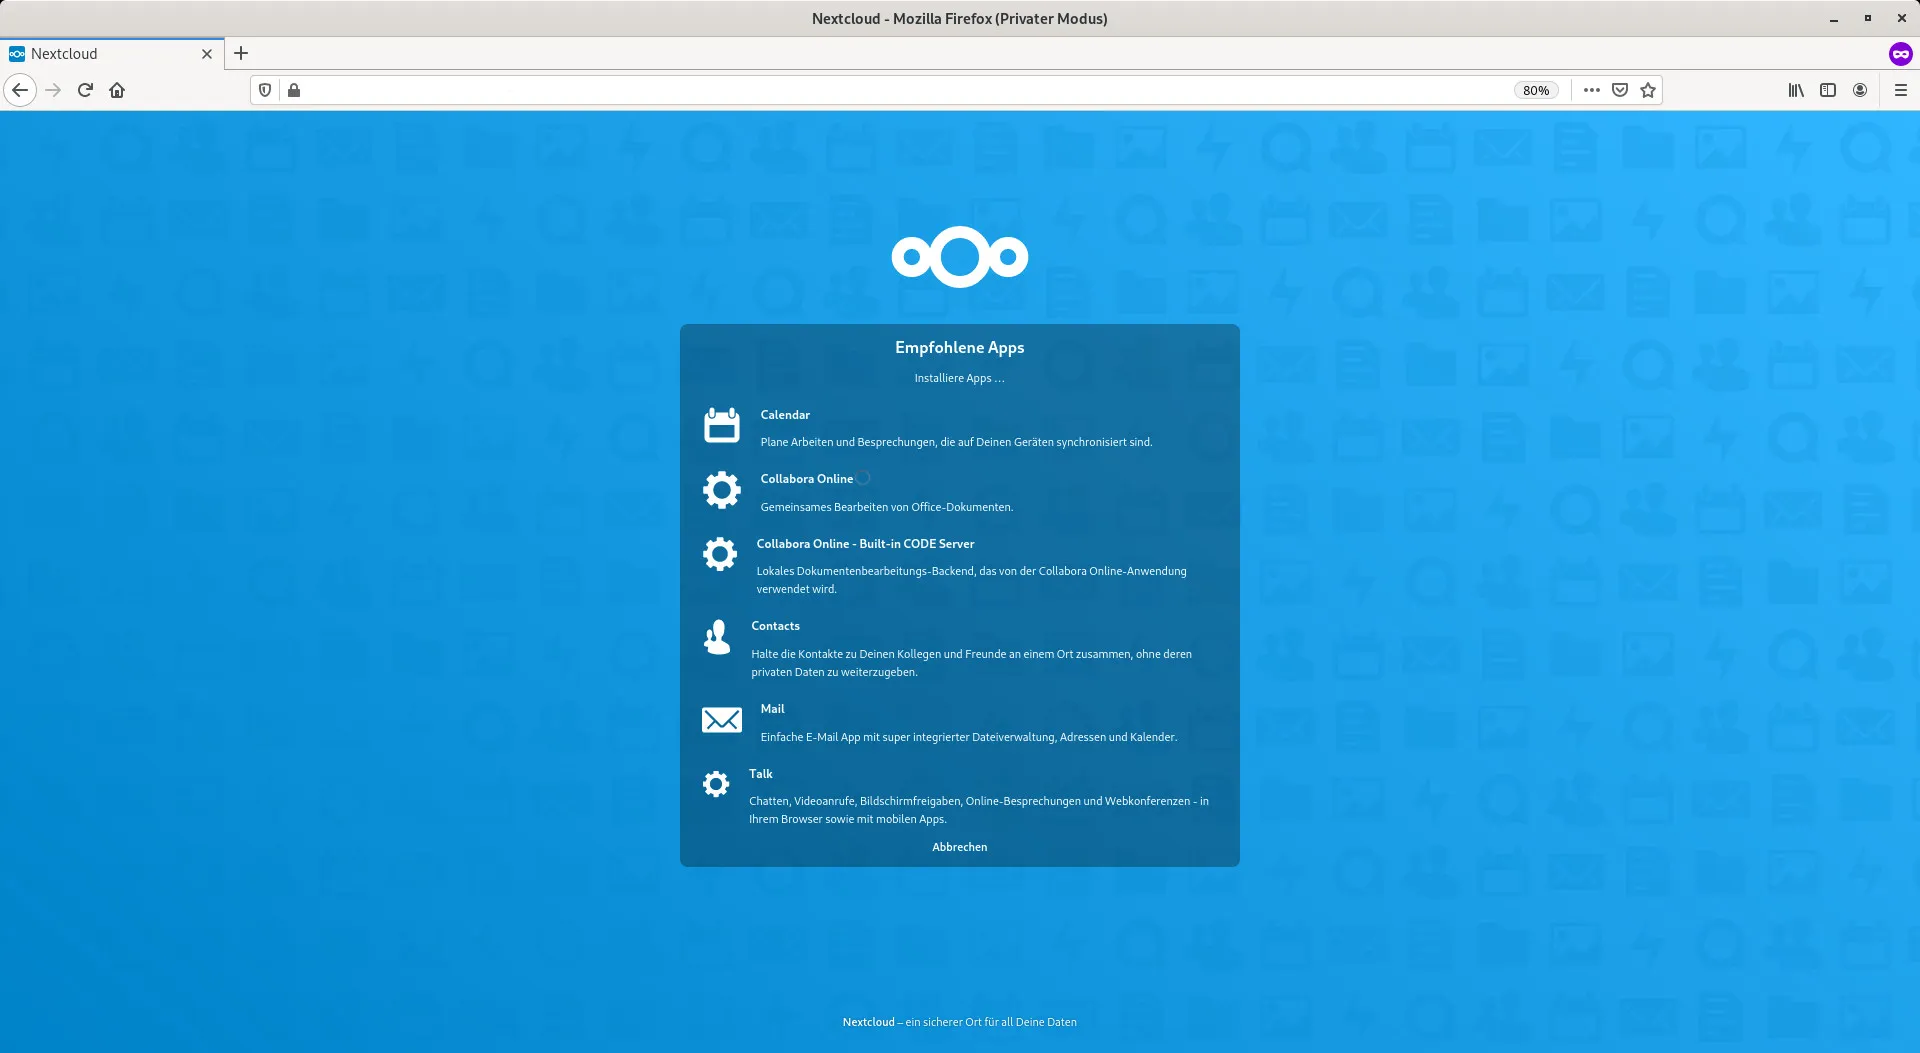
Zu guter Letzt nochmal den Webserver nginx wegen den Änderungen neustarten und die verwendete Domain im Browser aufrufen. Die Installation wird im Browserfenster abgeschlossen.
systemctl restart nginx